Credits:
Writers: Dean “Dean[SG]” Eddy, Thomas “Tomo009” Bishop.
Art and Photoshop: Swordsaint32, Dana “BreadKrew” Hare.
Consultation: Spiralmaster27, CaioLugon.
Sources: Skullheart, Shoryuken.
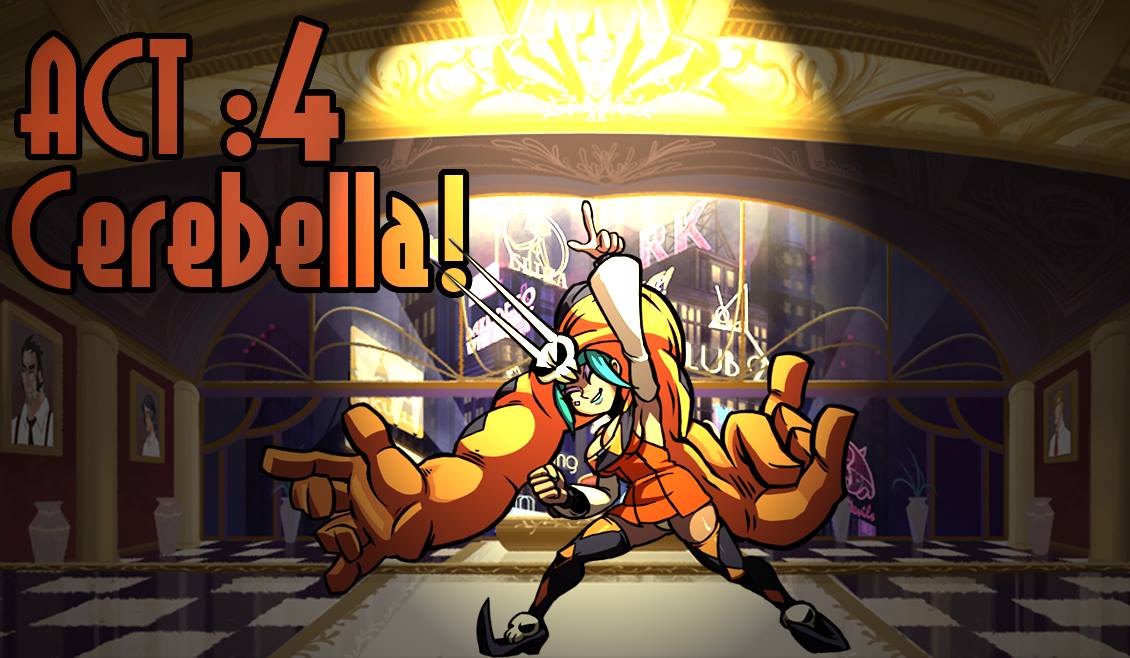
Character Intro:
Cerebella is the token grappler of Skullgirls, she has amazing mobility, great combo potential, has large and armoured moves, grabs and hard hitting conversions to bully your way to victory!
Pros:
- High priority normals and specials.
- Armoured moves.
- Long range, threatening grabs keep your opponent nervous.
- Flexible and easy combos while still doing a lot of damage!
Cons:
- Slow Mobility.
- A lot of specials are very predictable and can lead to a punish easily.
Game Plan:
Cerebella’s game plan is to apply pressure with just the threat of being able to throw out unblockable, untechable grabs, making them feel like anything they do will be unsafe. She also has a lot of reversal potential with her armoured moves, her vertical DP, grabs, her projectile reflector and most importantly, her Blockbusters!
Links to popular guides and footage:
Zidiane’s “Learn from the Best!” Guide to Cerebella!
http://skullheart.com/index.php?threads/cerebella-guide-learn-from-the-best-v4-1.227/
dragonos451 “Advanced Bella resets and burst baits” !
https://www.youtube.com/watch?v=9H0gE5VfO5I
Mobility:
Double Jump
No Airdash.
Cerebella is a very mobile grappler. Her ground walk speed is very slow and her dashes are not that impressive. She does have access to a Command “run” move by charging back and forward + K, to give her an armoured approach option. Due to her acrobatic background, she is a very strong air character though lacking an air-dash, evident in her “glide” by holding j.HP (This cannot be done after a double jump however).
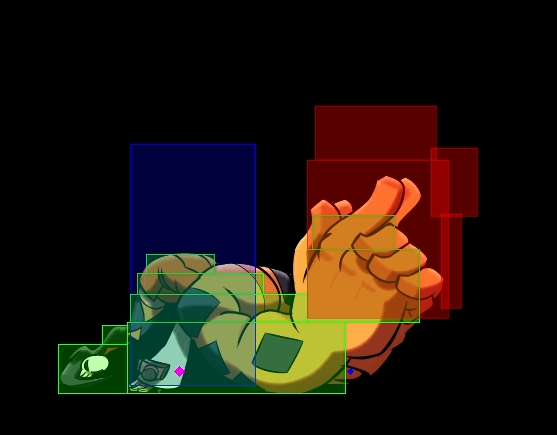
Normals;
Light Punch


Cerebella can do 2 s.LP’s and can even combo it into c.LP, making it even more plus on block. Great for tick throws!
j.LP is very fast and can challenge most opponents when in range. This button can be mashed, leading to multiple hits to a conversion or more pressure.
Light Kick
LK utilizes her hidden heel blade! s.LK is a fantastic anti-air and c.LK is a great fast hitting low that has great range and is a very strong tool in her ground game.
j.LK is a great air to air and cross-up move.
Medium Punch


s.MP can stagger the opponent, allowing you to combo into a grab (you can do this by doing a re-stand from the air and pressing s.MP straight after).
c.MP moves Bella forward, great for combos and also for reading early pushblocks, allowing bella to stay in range.
j.MP is AMAZING. It has a huge hit-box, making it an amazing air-to-air AND a great air-to-ground move. In neutral game you will be throwing this move out a LOT.
Medium Kick


s.MK makes Cerebella immune to some low hitting moves and leaves you rather plus. It will hit where c.MK will miss and s.MP would be too far to confirm.
c.MK is her mini-launcher and can help extend her combo’s and lead into her strongest reset options.
j.MK is great for continuing a combo but also useful for reset options and safe jump techniques.
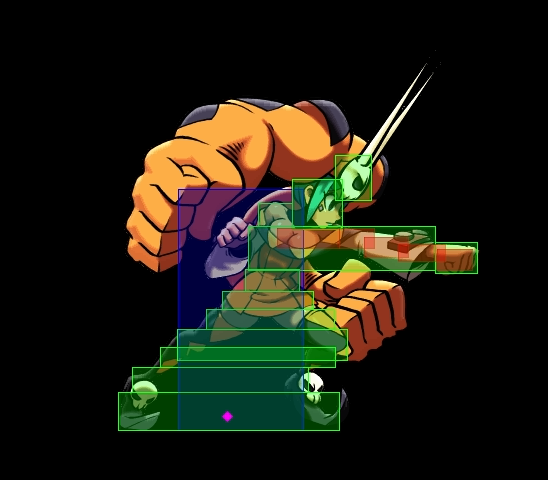
Hard Punch
s.HP knocks down airborne enemies, it can be cancelled into Tumble Run and it’s follow-ups to extend combos and during pressure. and is also her hardest hitting normal.
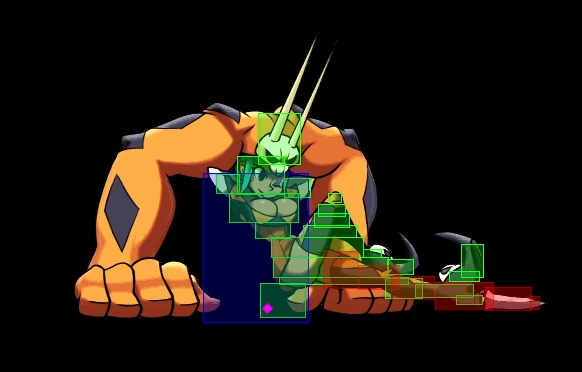
c.HP is her standard launcher and is absolutely huge.
j.HP is another good air-to-air and air-to-ground move that can also lead to fast overhead set-ups.
Hard Kick
s.HK hits twice, the last hitting overhead. Good as a combo ender or a reset starter.
c.HK is her sweep. Good as a panic button hit-confirm as it leaves her even on block and it’s quite large.
j.HK is an amazing jump-in move and air-to-air trading move. Amazing for combos and for pressure.
Command Normals
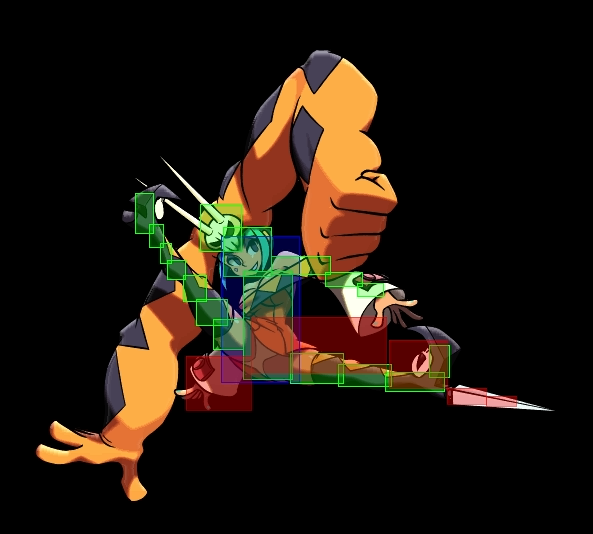
Unbreakable Elbow, down + j.MP (2MP (airborne)):

Brings the people’s elbow down on your opponent. On it’s own, or combined with j.LK it can lead to some deadly overhead set-ups. When it hits it leads to a knock-down that can be followed up with c.LP.
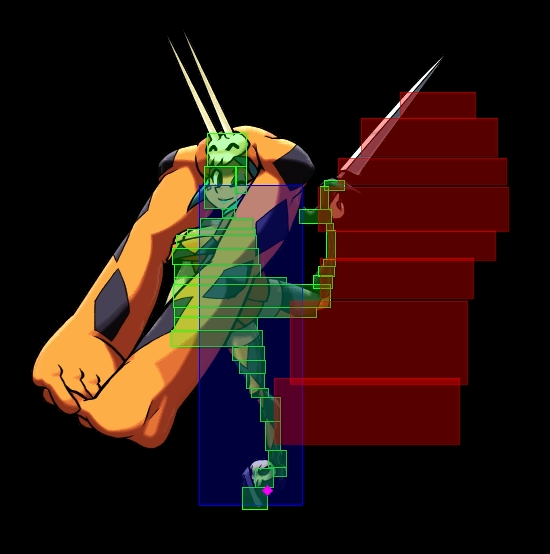
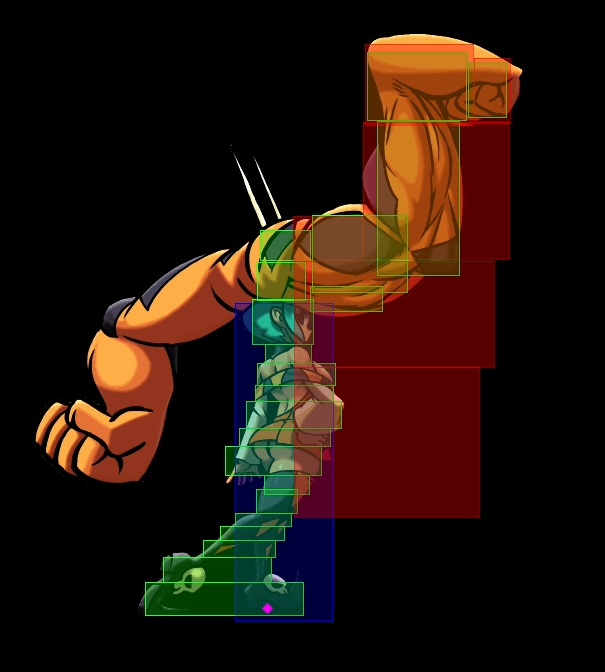
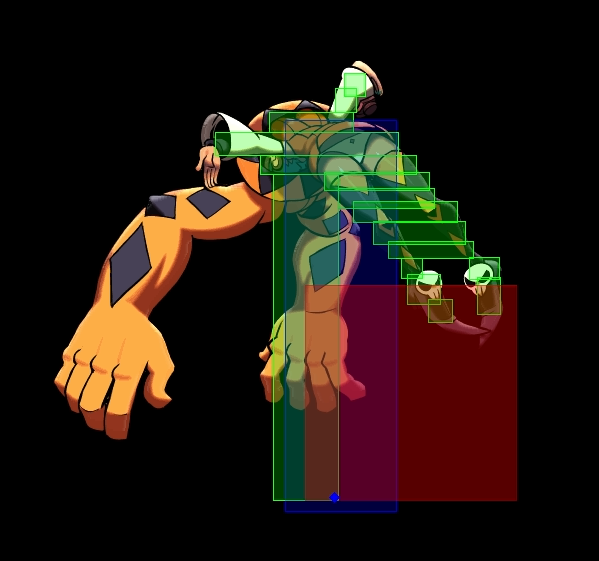
Titan Knuckle, forward + s.HP:

Is a HUGE move and her most damaging attack! It leads to a slide hard knockdown (if you haven’t used up your OTG in the combo), leading to Okizeme set-ups.
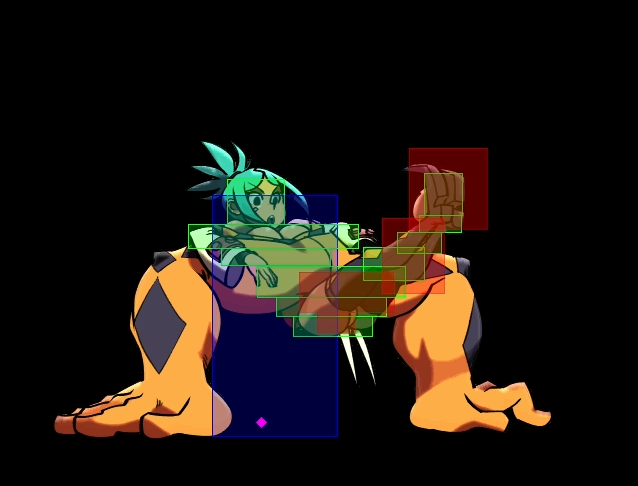
Throws and Throw Follow-ups combos:
Ground Throw:
Cerebella spins and tosses the opponent forward. In the corner you can combo off of an OTG but midscreen you can catch them with Dynamo.
Air Throw:
Bella grabs the opponent, pummels them and tosses them straight down. This move can be followed up by a quick j.LP, or j.HK if high enough.
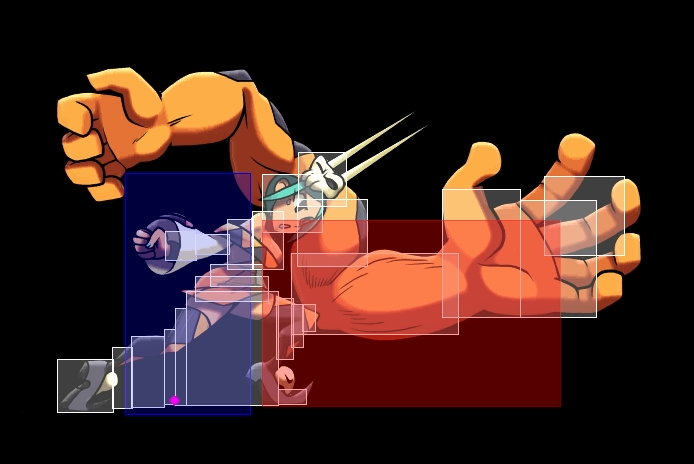
Specials:
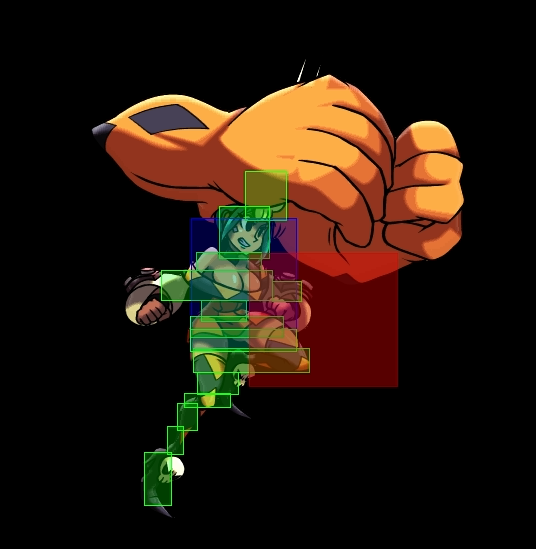
Lock ‘n’ Load, QCF+P (236+P):
Bella’s Rush Punch! The Medium and Hard versions have 1 – 2 hits of armour, This can allow you to go through projectiles, create reversal opportunities by spending meter, or by creating safe on hit mix-up openings. This move is unsafe on block however.
Diamond Deflector, Z-motion + LP (623+LP):
 Time this move right and Bella can deflect any projectile thrown, reflecting it back as a small diamond shaped fireball that will stagger the opponent when hit. The diamond also has projectile invincibility, allowing it to go through Robo Fortune’s Beam supers and Peacock’s Argus Agony.
Devil Horns, Z-motion + MP (623+MP):
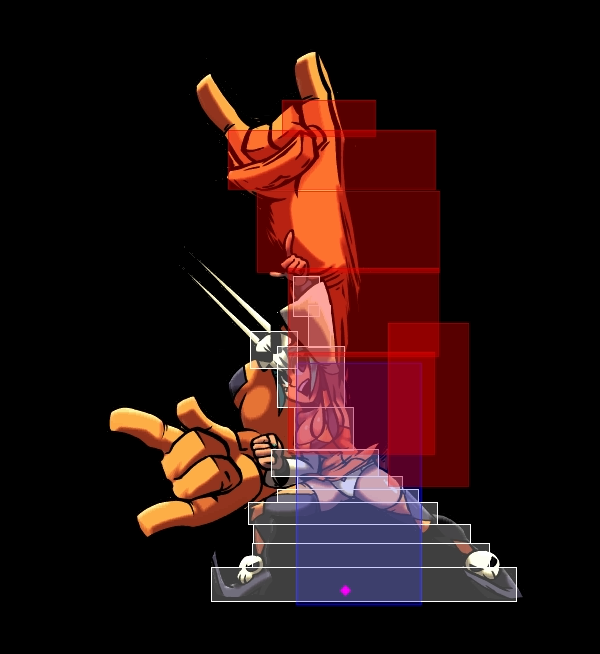
Rock ‘n’ Roll! This move has invincibility, but has a very narrow, vertical hitbox, making it an ineffective reversal. If hit, the opponent goes up and over Cerebella, allowing for side switching and can be good against cross-up attempts and for combo extension.
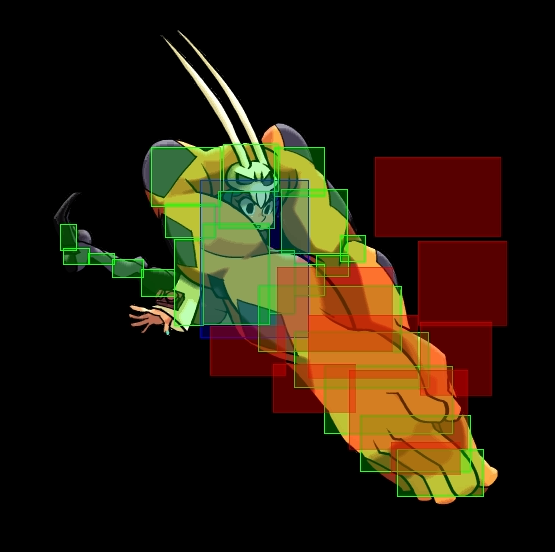
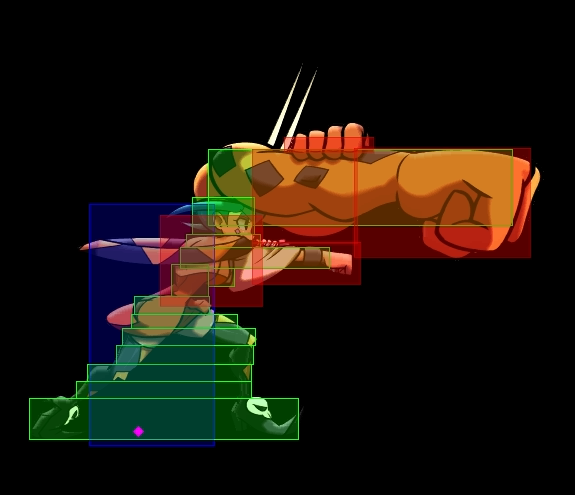
Cerecopter, Z-motion + HP (236+HP):

Spin to Win! An amazing combo ender and assist. Though it deals a lot of chip damage on block it is very unsafe but is also very hard to punish, but very, VERY easy to PBGC.
Diamond Drop, QCF + LP+LK (236+LP+LK):

A close range grab that sends the opponent up and behind Cerebella. Great reset and an easily executable move but can be difficult to convert off of without spending meter.
Merry Go-Rilla, QCB + LP+LK (214+LP+LK):

Cerebella’s mid-range grab that slams the opponent onto the ground. It’s fantastic for ranged pressure and as a reset tool.
Excellabella, Z-motion + LP+LK (623+LP+LK):

Cerebella’s anti-air grab that sends your opponent flying.
This grab is actually a “hitgrab” and is only unblockable during the rising frames of a jump. The move is an amazing combo ender but it is an even BETTER tool for catching people attempting to jump out of your other command grabs.
Grab Bag, QCF + LP+LK (air) (236+LP+LK):
A command grab that can deal a heap of damage and can be a good end game/character reset without you having to spend meter.
This move is unsafe when whiffed but the window for when you can tech the grab is smaller than a regular grab (4 frames – Grab bag vs 13 frame regular grab).
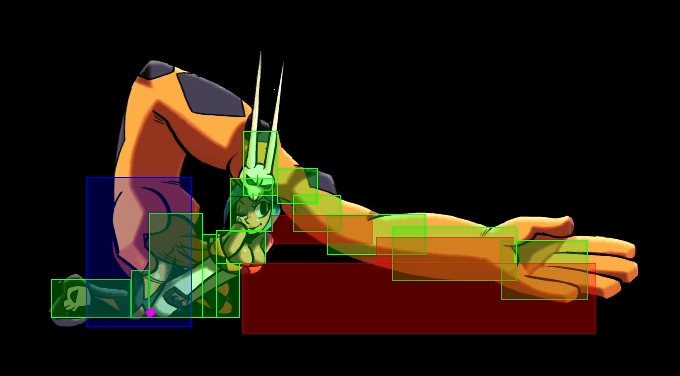
Tumbling Run, Charge back + forward + K. ([4]6+K):
Making up for Cerebella’s poor ground mobility, charging back and forward + Kick, you can send Cerebella into a dashing run. The distance depends on what button you press. This run has 1 hit of armour. Can be stopped by sweeps, a grab, or avoided entirely by jumping back. This run can also lead into different follow ups depending on what buttons you press during the run.
Run Stop, Tumbling Run + L:
Pressing a Light stops her run, allowing you to avoid overextending and is used to cancel moves, allowing you to chain normals together and leading to amazing conversion posibilities.
Kanchou, Tumbling Run + M:

Cerebella dashes forward and behind the opponent (if possible), holding the button can give the opponent a poke from behind, crossing the opponent up and sending them flying but punishable on block. The dash also has brief projectile invincibility.
BattleButt, Tumbling Run + H:

Cerebella’s forward headbutt, giving her 2 additional hits of armour can be used as a reversal up close or as a knockdown ender. VERY unsafe and predictable at long ranges.
Pummelhorse, Tumbling Run + LP+LK:

This running command grab is an overhead and can be used as a mix-up but is often used as an effective combo extender after a successful s.HP. EXTREMELY unsafe on whiff or block.
Blockbusters:
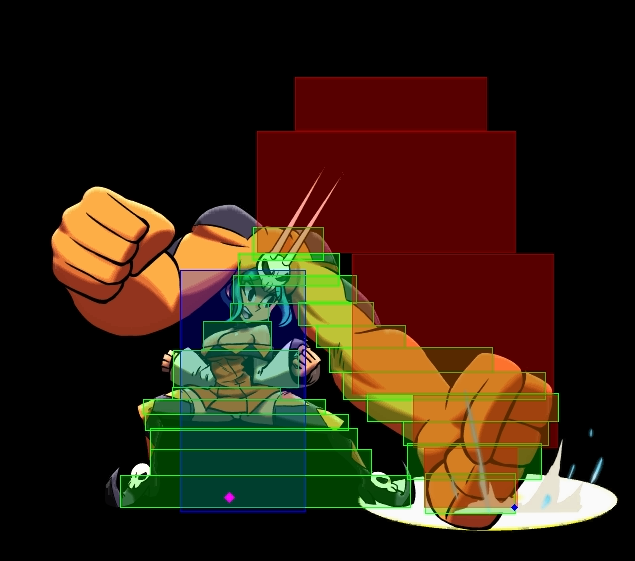
Diamond Dynamo, 1 meter, QCF+PP (236+PP):
Cerebella’s most popular combo ender and panic button for a single meter. In the corner she can perform a follow up by using up her OTG and is her BEST reversal but is a free punish on block.
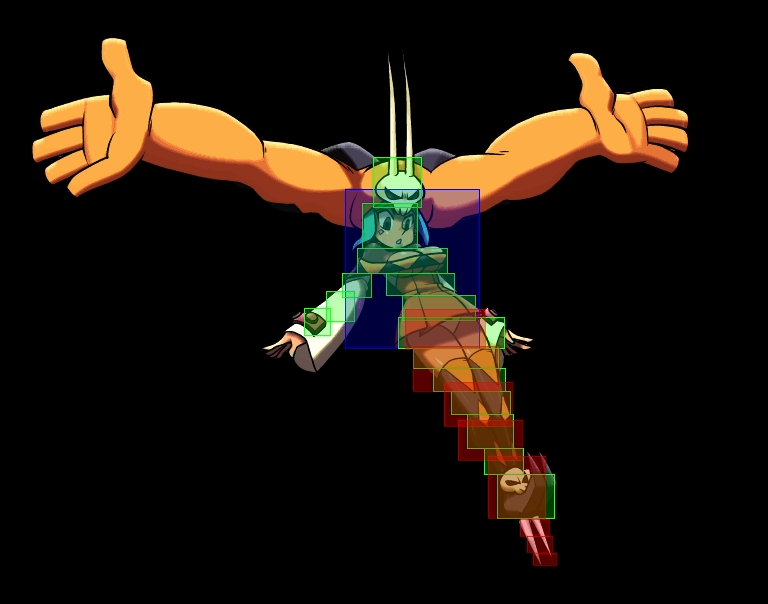
Ultimate Showstopper, 1 meter, 360+LP+LK (6321478+LP+LK):

Cerebella’s Blockbuster command grab! Opponent’s have to be jumping before the flash or they are going to get grabbed! Deals a HEAP of damage and can also be canceled into Devil Horns, leading into a combo that can do more damage instead of just letting the super end. (The window is just as the opponent gets impaled and before Vice Versa pushes them onto the blade).
Diamonds are Forever, 3 meter, QCB+PP (214+PP):
The entire start-up of this move has hyper armour, making it impossible to get hit out of the move, only way to stop it is by reacting with a throw. The move initially hits low, before she chucks a massive diamond projectile, getting hit by this move causes a wallbounce, allowing for a follow up. This move as a Sequel skips the first hit and is VERY safe on block.

Combos: (All of these combos can be found and viewed on the “General BnB Compendium” right here: http://skullheart.com/index.php?threads/general-bnb-compendium.4072/)
Midscreen:
c.lk, c.mp, c.hp,
j.mk, j.hk,
otg c.lk, c.mk,
j.mp, j.hk,
c.mp, c.hp,
j.lpx3, j.hp,
s.lpx2, s.mp, s.hk xx Cerecopter xx Diamond Dynamo.
Midscreen ONLY (Kanchou BnB):
c.lk, c.mp, s.hp xx Tumbling Run > Kanchou,
c.mk,
j.mp, j.hk,
s.hp xx Tumbling Run > Pummel Horse,
c.mp, s.hp xx Tumbling Run > Run Stop,
c.lk, c.mp, s.hp xx Tumbling Run > Run Stop,
s.lpx2, s.mp, s.hk xx Cerecopter xx Diamond Dynamo.
Corner only:
c.lk, c.mp, c.hp,
j.mk, j.hp,
otg s.lk, c.mk,
j.mp, j.hk,
s.hp xx Tumbling Run > Pummel Horse,
c.mp, s.hp xx Tumbling Run > Run Stop,
s.lpx2, s.mp, s.hk xx Cerecopter xx Diamond Dynamo.
Resets:
All of these resets and burst baits come from the main Midscreen combo.
(Thank you to CaioLugon for ALL of these!)
c.mp, c.hp, j.lpx3, Diamond Drop / clk (50/50)
c.mk, j.mp, j.hk, c.mp, Kanchou
c.mk, j.mp, j.mk, Merry-Go-Rilla / c.lk (50/50)
otg c.lk, c.mk…
>> j.lk, delay j.mp (cross-up)
>> delay j.hk (cross-up, better in the corner)
>> runstop, c.lk / Diamond Drop (50/50)
>> runstop, micro dash s.mp
>> runstop, air grab
>> runstop, s.lk(trigger IPS), c.mp(whiff), Diamond Drop/Kanchou
(cross-under grab/double cross-under)
s.lp, c.mp, c.hp…
>> runstop, air grab
>> runstop, Merry-Go-Rilla (dash back after the runstop if you’re in the corner)
>> runstop, c.lk (dash back after the runstop if you’re in the corner)
Burst Baits:
…s.lp, c.mp, c.hp, jump back j.hp (trigger)
…j.lpx3, j.hp, s.lp, c.mk, c.hp, delay j.lp (trigger), elbow drop to get out of burst range (mix this up with a delayed airgrab after c.hp)
…j.mk, j.hk, otg c.lk, c.lk (trigger)
…otg c.lk, c.mk, runstop, s.lk (trigger), c.mp (whiff to dodge the burst)
Also a super risky one you can do is trigger IPS or Undizzy in the ground right in front of the opponent (like […]j.lpx3, j.hp, c.lk) Devil Horns, Dynamo to go through the burst with your invincible frames.
Assist synergy and good characters to team up with:
Cerebella is a very versatile character that has amazing assist synergy and can fit in any team composition well. Assists that cover her horizontal approach or a vertical Dragon Punch assist like Peacock’s bomb’s, Parasoul’s Napalm Pillar or Double’s Hornet Bomber are a few examples to note. Some assists can also be used to help follow up from moves like Diamond Drop, such as Double’s Cilia Slide and Beat Extend that can be used to follow up from Dynamo.
