
Disclaimer: If you find an error, or feel like you have more up-to-date or relevant information, please let us know. We’re able to update our current material after the fact, create addendums, and generally revise our process for greater accuracy and effectiveness, so don’t hesitate to tell us.
Written by xXTexasTimXx
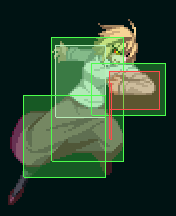
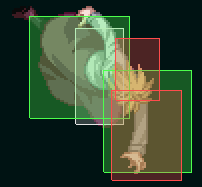
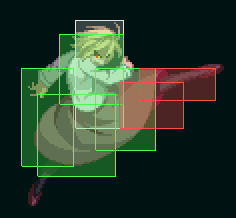
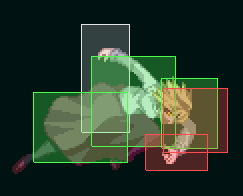
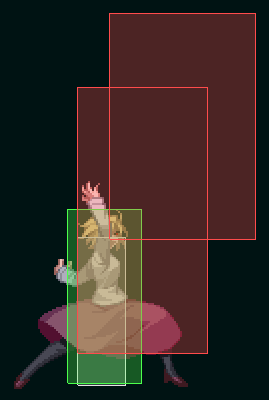
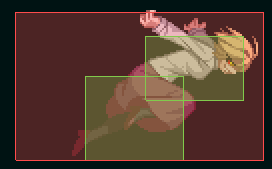
Hitboxes by Lezyes
Match videos: http://www.meltydb.com/resultall.php?1c=warc&1m=Full&tdb=any&filt=any
Character Description:
F-Warc can play lame with air rings, forcing the opponent to take risks to approach. She can then take advantage of bad spacing, neutral advantage, or predictable behavior to land high damage combos that lead into safe jump oki set-ups.
Video Resources:
Basic combos, pressure, tech punishes, and some oki tips: www.youtube.com/watch?v=uvK99s24eJM
Oki set-ups: www.youtube.com/watch?v=k4A6Tbg44AY
Things forgotten from the basics and oki vids: www.youtube.com/watch?v=wsk1nGb4mpQ
F-Warc pressure guide: www.youtube.com/watch?v=uy6A6WSO7d8
F-Warc pressure guide cont: www.youtube.com/watch?v=X9PdoHillT0
F-Warc fuzzy guard set-up: www.youtube.com/watch?v=e1PGyKdJxv0
Character Pros:
Air Zoning (j.214A/B)
High Damage Output
Best Okizeme of Warc’s 3 Moons
Low Execution Requirement
Character Cons:
Lacks Air Movement of C/H-Moons
Weaker Neutral Options than C/H-Moons
Weak Pressure
Weak Reversal Options
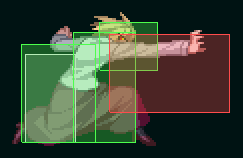
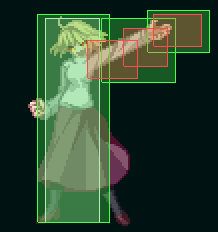
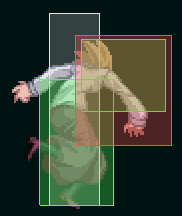
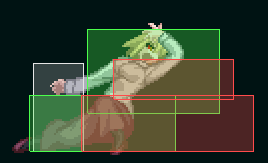
Frame Data:
- 2A – Low. 3 Frame Start-Up. +3 on Block. Short Range. Small Hit Box.

- 2B – Low. 10 Frame Start-Up. -6 on Block. Hard Knockdown. Forward Moving.

- 2C – Mid. 11 Frame Start-Up. +2 on Block. Very Disjointed Hit Box.
- 5A – Mid. 4 Frame Start-Up. +3 on Block. Decent Anti-Air. Whiffs Crouchers.


5B and 5C have 3 different versions each: Uncharge, semi-charged and fully charged.
- 5B – Mid. 7 Frame Start-Up. -11 on Block. Forward Moving.
- 5{B} – Mid. At Least 9 Frame Start-Up. -7 on Block. Multi-Hitting. Partial Charged Version of 5B. Forward Moving.
- 5[B] – Overhead. 26 Frame Start-Up. -13 on Block. Forward Moving. Wall Slams Air Bourn Opponents. Super Armor.
- 5C – Mid. 6 Frame Start-Up. -13 on Block. Disjointed In-Front. Whiffs Crouchers at Range.
- 5{C} – Mid. At Least 8 Frame Start-Up. -13 on Block. Partial Charged Version of 5C. Same Properties.
- 5[C] – Unblockable. 42 Frame Start-Up. Cannot Combo After. Wall Slams. Ground Techable.

- 3C – Low. 19 Frame Start-Up. -10 on Block. OTG Relaunch. Super Armor.
- j.A – High. 4 Frame Start-Up. 4 Active Frames.
- j.B – High. 6 Frame Start-Up. 5 Active Frames. Disjointed Below and In Front.

- j.2B – Mid. 8 Frame Start-Up. Dive Kick. 8 Active Frames. Minus on Block. Special Cancelable on Landing.
- j.C – High. 8 Frame Start-Up. 5 Active Frames. Very Disjointed In Front.
- j.2C – Mid. 3 Frame Start-Up. Minus on Block. Multi-Hitting. Super Armor. Hard Knockdown.

- 236A – Mid. +8 on Block. Projectile. Multi-Hitting.
- 236B – Mid. -1(see note) on Block. Projectile. Multi-Hitting. (Note:Raw frame data is -1, but situational +/-0 or +1.)
- 236C – Mid. -6 on Block. Projectile. Multi-Hitting. Air Unblockable. OTG Relaunch. Jump Cancelable on Hit.
- 214A – Mid. Variable Advantage on Block (+12 to -8). Projectile. Cannot Initiative Heat. Cannot EX Cancel.

- 214B – Mid. Variable Advantage on Block (+12 to -8). Multi-Hitting. Projectile.
- 214C – Mid. +12 on Block. Multi-Hitting. Projectile. Frame 1 Invulnerability (7 Frame Duration). Pseudo Reversal.
- 623A – Short Forward Teleport. Has Recovery. Can Initiative Heat.
- 623B – Mid Forward Teleport. Has Recovery.
- 623C – Mid. -6 on Block. Hit Throw (Shieldable). Air Unblockable. OTG Relaunch. Wall Slams. Air Techable.

- 421A – Short Backward Teleport. Has Recovery.
- 421B – Mid Backward Teleport. Has Recovery.
- 421C – Long Backward Teleport. Has Recovery.
- j.214A – Fast Air Ring. Maintains Falling Speed. Descending Rings Can Be Very + on Block.
- j.214B – Slow Air Ring. Stalls Air Movement. Maintains Air Movement Options on Recovery. Can be + on Block.
- j.214C – EX Air Ring. Frame 1 Invulnerability (7 Frame Duration). Ground Slams. Hard Knockdown. OTG State.
- 63214C – Mid. 2 Frame Start-Up. +1 on Block. Air Unblockable. Hard Knockdown. OTG Relaunch.

- 41236C – Raw Version is Unblockable and Fails When Warc is Hit. Combo Version is Hard Knockdown.


Basic Combos:
(Not a comprehensive list.)
Tips:
- Using 2C instead of 5C in combos usually nets more damage.
- Comboing after 236A/B is a link, not a jump cancel.
- Combo enders are Air Throw (AT), j.2C, or j.214C.
2A 5B 2B 5C 236A j.BC sdj.BC Ender
Basic combo. Works anywhere. Use if you feel 5C is easier to combo with than 2C.
2A 5B 2B 2C 236A 236A j.C sdj.BC Ender
More damage, more meter. Works anywhere.
2A 5B 2B 2C 236A 236B j.BC sdj.BC Ender
Even more damage, and more meter. Corner only. Does NOT work on Len.
2A 5B 2B 2C j.C 686 j.C Land j.C sdj.BC Ender
Rejump combo. Even more damage, less meter. Works anywhere.
2A 5B 5C 236B 5C 236A j.BC sdj.BC Ender
Less damage, more meter. Corner only.
Post j.214C OTG Options:
- 3C 3C – Basic option, adds more damage, sets up best oki. Does NOT work on WLen.
- 3C 5C 236B j.ABC sdj.ABC Ender – Catch the 3C OTG with a 5C pick-up. Nets ~500 more damage.
- 236C j.BC sdj.BC Ender – Another option to extend and add on some damage.
- 63214C – Another option.
Okizeme:
Not a comprehensive list.
- AT Ender – 2A Meaty or 5C Meaty. 63214C Meaty.
- j.2C Ender – Dash 5B/5C Meaty. Or try for something like (7) j.214B 66 j.B …
- j.214C Ender – Super Jump for safe jump set-up.
Options are safe jump, empty jump low/throw, kamone, 214A. - 3C 3C OTG – Same as j.214C, but add j.214A/B. j.214B can lead into air tight kamone or fuzzy guard set-up.
Pressure:
A note on pressure: F-Warc pressure is generally weak compared to most other chars. This is due to her 2B/5B properties when combined with 236A properties. The cornerstone of her pressure is 236A, it’s massive plus frames border on the unfair.
However, since 5C and 2C push back too far to connect 236A, 5B or 2B must be used. 5B 236A and 2B 236A require that you delay the 236A so that it hits properly. This leaves a gap, called a frame trap or a stagger. In general, reversals beat frame traps. There is a wide array of universal options to beat F-Warc’s frame traps.
236A being multi-hitting causes another issue in that bunker becomes a viable option. This is a threat from every moon since 236A is not jump cancelable on hit. Since 5B/2B are so ungodly minus on block, and 236A has a lot of start-up frames, opponents can actually react to 2B/5B reversal baits with mash, and 236A start-up with reversal.
All that being said, her pressure is still very hard for opponents to deal with at all beginner to mid-levels of play. At high levels of play, she has several other tools to help her deal with the weaknesses of 236A. These are mainly the threat of 2C or 236B, which from 2B or 5B can be air tight, and tag out opponents that try to mash a reversal.
- 236A 2A reset is air tight.
- 236A 5B reset can be air tight.
- 2B 236A is a frame trap.
- 5B 236A is a frame trap.
- 2C 2A is a frame trap.
- 5C 236B 5C is a situational frame trap.
- 2B 236B 2A reset is a frame trap.
- 2B 5C 236B 63214C 2A is a frame trap.
- 63214C can set-up 50/50 L/R mix-ups, as Warc loses her collision box during part of the animation.
Meter Management:
F-Warc wants to use excess meter often, while still maintaining at or near 100% for emergencies. My methodology is as follows: if you have the life lead, use the meter for either j.214C combo ender, or 63214C pressure reset 50/50.
If you have the life lead, but the clock is below 45 seconds, and/or you have lots of red life, consider saving the meter for Initiative Heat (IH).
If you are so far down in life, and don’t have the red life to take the life lead with IH, then use the meter to get j.214C 3C 3C oki and run a mix-up or two in the hopes of netting damage.
Reversal Options:
- F-Warc’s reversal options are severely limited compared to most of the cast. Her options are as follows. 5/2D high or low shield with the 236D follow-up, 214C, backdash, j.214C.
- 5D and 2D is kind of weak, mostly because she has to guess between high or low shield. The 236D follow-up can be option selected. 214C is a pseudo reversal, meaning that the invuln wears off before the active frames from the rings come out. Backdash has a crap ton of recovery, and can be easily option selected. J.214C would be a true reversal, if jump didn’t have start-up.
- Despite the way it may look, 63214C is NOT a reversal. It has 2 frames of start-up, and then is invuln. If this hits someone on wake-up, then they did not meaty properly.
Tech Punishes:
- 2B is a basic tech punish tool in the corner. 2C also has its merits in the corner. 2A 5B 5C can be timed to where the 2A will hit OTG and hit Neutral techs, while the 5B after can hit the Forward and Back tech options in the corner. 236C is also a tech punish option in the corner, when the following combo or a 214C will secure the kill.
- Midscreen tech punish options are not so good. F-Warc has to guess between Forward and Neutral techs with 2B, and 5C for Back techs.
Notes on Option Selects:
- F-Warc has a very hard time OS-ing midscreen backdashes due to the slow speed of her 2B.
- If opponents like to shield post 236A or 236B, F-Warc can run H/F-Moon shield counter OS’. Things like 2A 5B 2B 236A 5B 236[7]B. If the opponent decided to shield the 5B reset in this example, then F-Warc will chicken block the counter, and punish with a 5B starter combo. Big damage. If the opponent blocked 5B, then 236B will result, since 5B is not jump cancelable on block.
- If opponents like to raw bunker on wake-up, 2A [8] 2C can punish that. On clash from raw bunker, a j.2C will result, eating the hit with super armor, and giving a hard down into the same situation. If the opponent blocked, then 2A 2C will occur.
